Filmora Made Easy: The Ultimate Guide for Beginners in 2025
Introduction: Filmora in 2025
Filmora is suitable for those who are new to video editing and looking for a beginner-friendly yet powerful tool. Wondershare Filmora is your best solution in 2025. With its intuitive interface, rich features, and seamless editing capabilities, Filmora makes video creation accessible for everyone, from content creators and YouTubers to students and small business owners.
In this post, we’ll take you through all you want to know about Filmora: from downloading the program to producing your very first edited video. Let’s start here:
What is Filmora?
It is an easy and powerful video editing tool developed by Wondershare that allows smooth content creation.
Why Use Filmora in 2025?
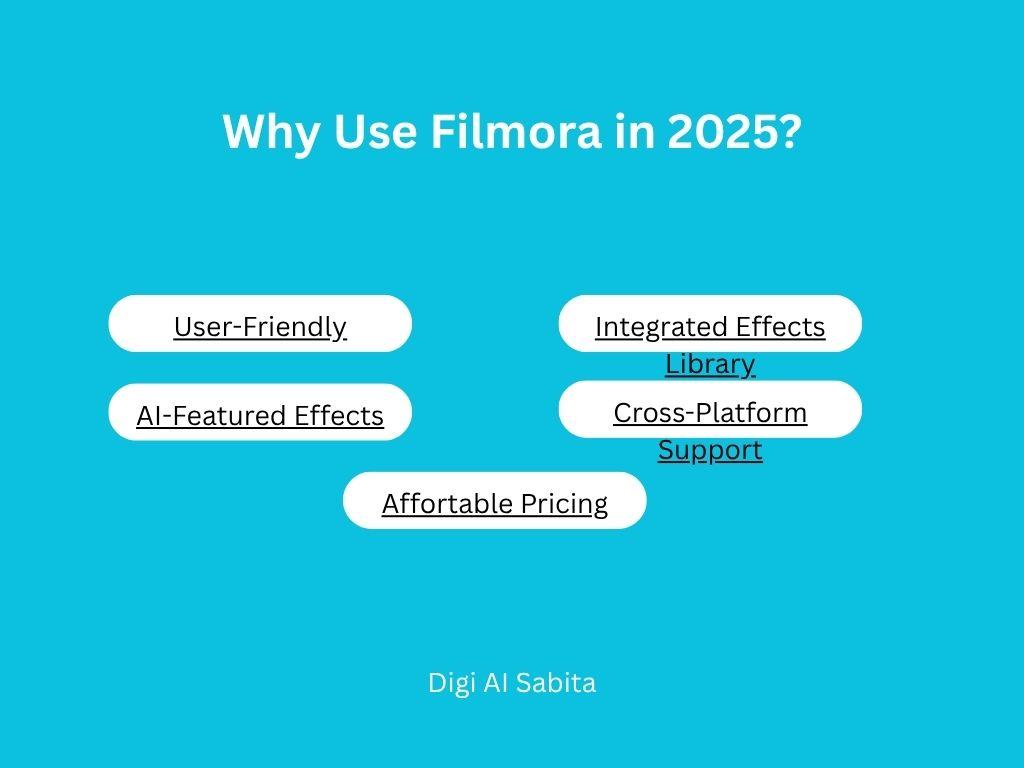
This tool is unique in the field of video editors because it balances ease of use with professional features. Here are a few reasons.
- User-Friendly: It is simple, drag-and-drop editing that doesn’t overwhelm.
- AI-Featured Effects: The latest version, 2025, features smart audio denoise, auto-captioning, and AI-driven object removal.
- Integrated Effects Library: It has effects like transitions, music, filters, and titles that come built-in to add finishing touches to your videos with ease.
- Cross-Platform Support: This tool supports Windows, macOS, and even mobile platforms.
- Affortable Pricing: It has flexible plans available with a basic free trial plan.
How to start with Filmora
1. Install and Launch
To start, first go to the official Wondershare Filmora website, filmora.wondershare.com, and select the version that works on your device.
- For PC/Mac: Install the desktop application.
- For Android/iOS: Edit on the go using the FilmoraGo mobile app.
After installing, you should open the program and log in.
2. Getting Familiar with the Interface
Its user link is built to be easy and straightforward. It’s organized into three main areas:
- Media Library: This is where you bring in and keep all your video, audio, and picture files.
- Preview Window: It is used to view your edits in real time.
- Timeline Panel: The important part of your project, where clips are organized, trimmed, and edited.
Step-by-Step Guide to Generate the First Video
First of all, go through a basic project to get you familiar.
1: Import media files.
Click “Import” to upload your pictures, videos, and files. You can also drag and drop files onto the media library.
2: Add Clips to Timeline
You should drag the audio or video clips onto the timeline. And organize them in the sequence you wish for them to appear.
Use the split tool to remove unwanted parts or clip the start/end of clips.
3: Adding Transitions and Effects
Let’s go to the “Transitions” or “Effects” tab in the top menu. Place your selected transition between clips to achieve smooth transitions.
4: Add Music and Sound Effects
Click the “Audio” tab to search royalty-free sound effects and music. Drag your chosen track into the audio track in the timeline.
5: Add Text and Titles
Visit the “Titles” tab to insert intro texts, captions, or end credits. Personalize fonts, colors, and animations.
For pro-level videos, Filmora also includes motion-tracked text and lower thirds.
6: Use AI Tools for Productivity
It has a variety of AI-powered tools in 2025.
- Auto Reframe to resize material for social media.
- AI-powered to remove background.
- Smart cutting is necessary to separate subjects.
- Auto-Captions for subtitles.
These tools save hours of labor and enhance accessibility.
7: Preview and export video.
Click the play button to preview the final outcome and export the video.
Bonus Tips for Beginners in 2025
Keep It Simple
You should start with basic edits. Don’t be confused on your first video with too many effects or transitions.
Use Templates
This app has preset project templates. These are great for intros, vlogs, and short social videos.
Save Frequently
Then save your project at all times to prevent losing progress, particularly during extended edits.
Explore Keyboard Shortcuts
This makes your workflow faster using useful shortcuts such as
- Ctrl+Z: Undo
- Spacebar: Play/Pause preview
- Ctrl+S: Save
Watch Tutorials
It has its own official YouTube channel and a learning portal filled with tutorials and project ideas.
Best Users for Filmora
It is best used for:
- YouTubers & Vloggers: Edit engaging videos in a snap.
- Students: Edit school assignments or presentations.
- Freelancers: Deliver professional client videos for less.
- Business Owners: Create product demos, commercials, and social media content.
Filmora vs. Other Editors
This app is different from other tools because it has the best features, like ease of use, AI features, and templates. It is affordable and ideal for beginners. Although Adobe Premiere is at the top in the industry, it takes the prize for newcomers because it is accessible and affordable.
Conclusion
Filmora Made Easy is not just a name; it’s a promise. It keeps inspiring a new generation of content creators by keeping professional video editing easy, enjoyable, and accessible in 2025.
Whether you are beginning a YouTube channel, opening up your brand, or enhancing family memories, it is your ideal partner in your creative journey.
FAQs
1. Is Filmora free?
Yes, it has a free version with limited editing features. But exported videos will carry a watermark. You have to use premium features to get rid of watermarks. You have the option for monthly, yearly, or one-time paid subscriptions.
2. Is Filmora suitable for upcoming editors in 2025?
Yes, it is one of the best and easiest video editing tools in 2025. It has an easy interface, drag-and-drop capabilities, and AI-assisted features that make it simple and fast for beginners to edit.
3. Does Filmora work offline?
Yes, this video editing tool is a desktop program, and the majority of its features can be used offline. However, internet connectivity is needed to update, access cloud effects, and share directly.
4. How can I learn how to use Filmora?
You can access official tutorials on this app’s YouTube page and the Wondershare website. There are numerous useful user-created tutorials on YouTube and blogs as well.